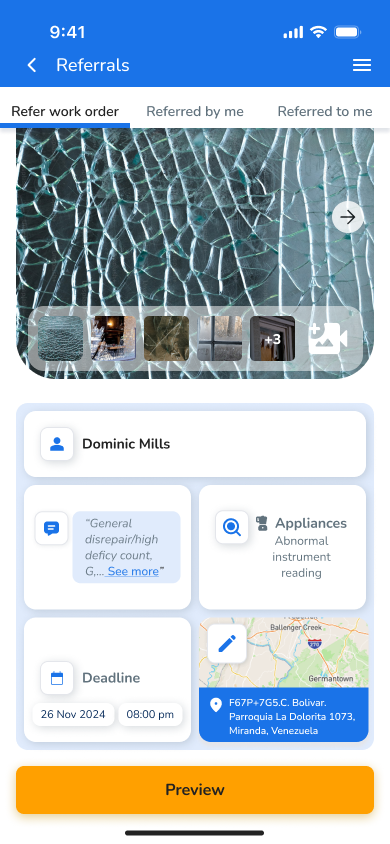
1. Upload Photos or Videos
Visuals are key to providing clarity about the task:
- Snap photos or record a short video of the issue or area requiring attention.
- Upload these files directly from your device.
- Ensure the images or videos are clear, focusing on the problem to help vendors assess the task accurately.
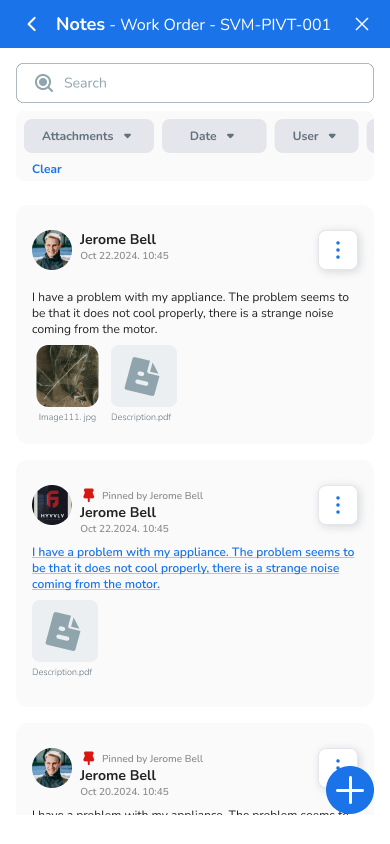
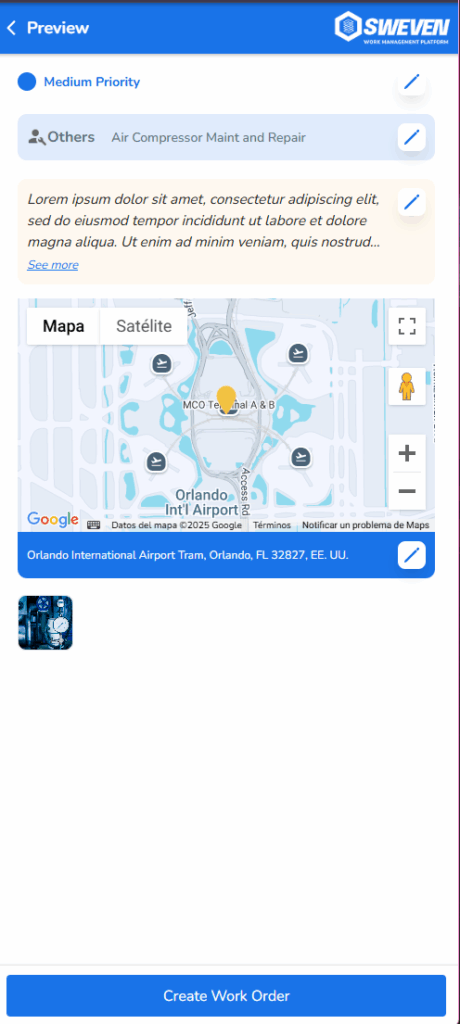
2. Add a Quick Description
- Write a brief summary of the task.
- Highlight key details like:
- What needs to be fixed or maintained.
- Specific requirements (e.g., equipment or expertise).
- Keep it concise yet descriptive for better vendor understanding.
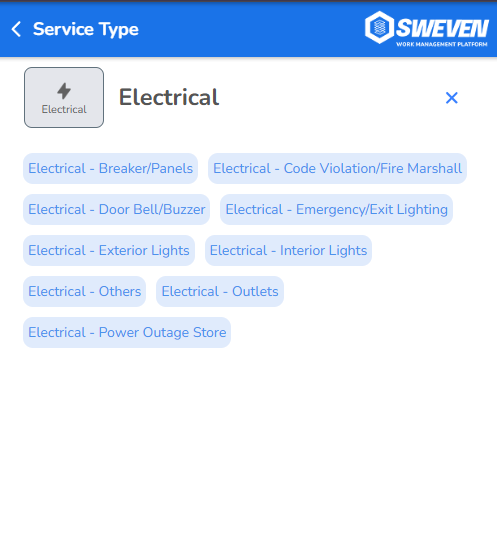
3. Categorize Your Need
- Select the category that best fits your task. Examples include:
- Electrical
- Plumbing
- HVAC
- General maintenance
- Categorization helps vendors with relevant skills see your work order first.
4. Set a Priority
- Indicate how urgent the task is.
- High Priority: Emergency fixes or time-sensitive issues.
- Medium Priority: Regular maintenance tasks.
- Low Priority: Non-urgent requests.
- This ensures vendors can prioritize tasks effectively.
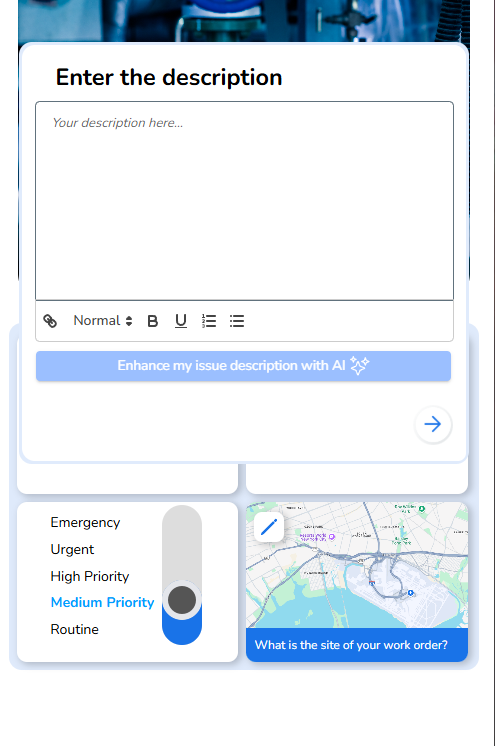
5. Pick Your Site
- If you manage multiple locations, select the site where the work order is required.
- Ensure the address is accurate to avoid delays.
6. Let the System Assign Vendors
- Sweven’s intelligent system automatically matches your work order with the best-rated vendors.
- Review the suggested vendors and choose the one that best fits your needs.
7. Monitor Your Pipeline
- Once assigned, your work order will appear in your pipeline.
- Track progress in real time and stay informed about updates, including when the Technician is on their way.