In this step-by-step guide, you’ll learn how to install a SWEVEN IoT device with an alarm to monitor tank levels — for example, in a restaurant that collects and stores used oil.
The system automatically activates an alarm when the tank reaches 70% capacity, helping prevent overflows and making pickup scheduling more efficient.
Before You Start — Check the Parts
Before beginning the installation, make sure you have all required components:
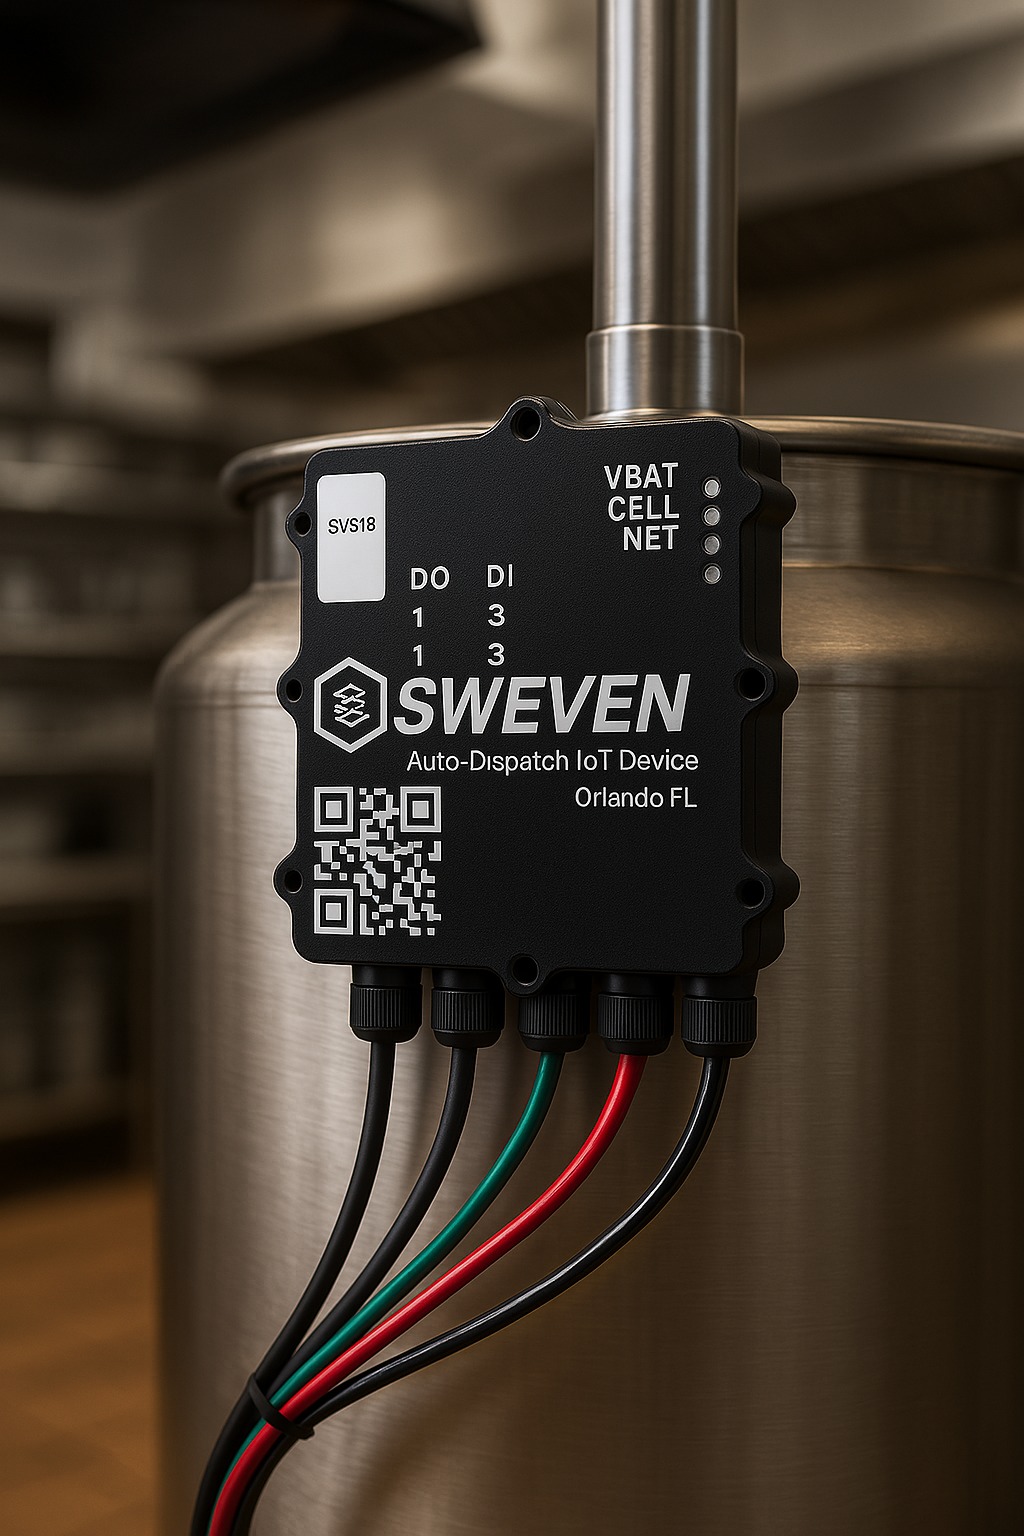
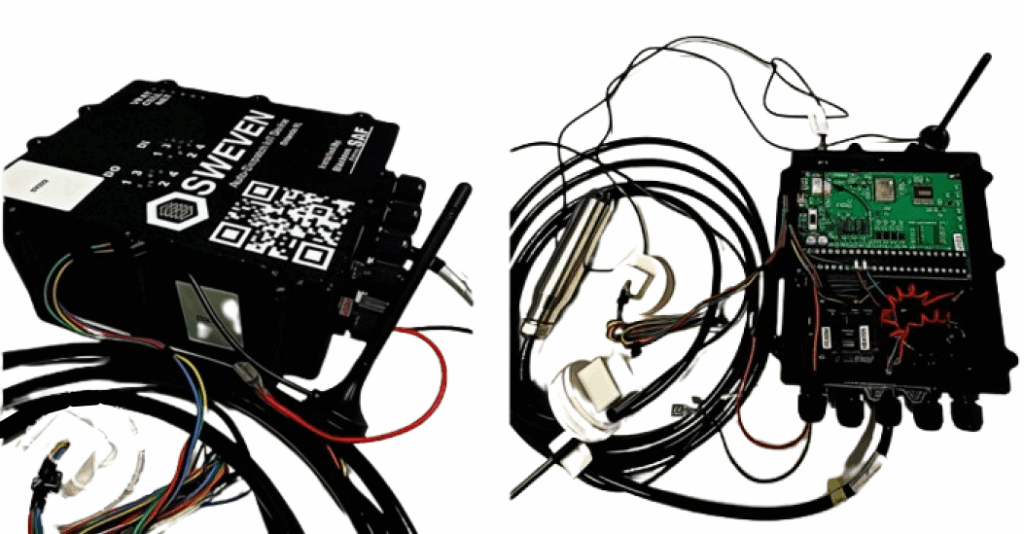
- IoT Device (Black Box) + Antenna
- Alarm Device (White Box)
- DIN connection cable
- 12 V power cable
Tip: It’s best to unpack and visually confirm each item before heading to the installation area.
Step 1: Position the IoT Device and Install the Pressure Sensor
- Place the black box near the tank’s PVC cap (1.5”).
- Pass the pressure sensor cable through the center of the PVC cap.
- Stretch and measure the cable so the sensor reaches the bottom of the tank when the cap is screwed in.
- In the same PVC cap, place the first temperature sensor so it remains just below the entry point — it must not reach the bottom like the pressure sensor.
- Screw the PVC cap securely (do not use bolts) to ensure a tight seal.
Important: A proper fit prevents leaks and ensures accurate sensor positioning.
Step 2: Install the Second Temperature Sensor
- Fix the second temperature sensor onto the inlet pipe (trace/line) using zip ties or thermal tape.
- This sensor monitors the temperature of the incoming fluid, so it should be in firm contact with the pipe surface.
Step 3: Connect the Heater
- Use the red or black wires coming from the IoT device to connect the heater to the relay output.
- Make sure all connections are secure, properly insulated, and protected from moisture.
Step 4: Power the IoT Device
- Plug the 12 V power cable into the IoT device.
- Confirm the connection is stable and properly seated.
Step 5: Install the Alarm Box
- Mount the white alarm box inside the restaurant in a visible and accessible location.
- Run the DIN cable from the alarm box to the IoT device.
- Secure the cable path along the wall or ceiling, avoiding high-traffic areas, tension points, or exposure to water.
- Connect the DIN cable to the IoT device’s alarm port.
Step 6: Turn On the Device and Check the LEDs
- Switch on the IoT device.
- Wait a few minutes while it establishes connections.
- Check the LED indicators on the black box:
- 🔵 Blue – SIM network OK
- 🟡 Yellow – Server connection OK
- 🟢 Green – Power OK
All three lights should be solid ON after a successful startup.
Step 7: Verify the Device Online
- Log in to the SWEVEN online platform.
- Confirm that the device is sending live data.
- Check that the tank level is displayed correctly and that the alarm triggers when the tank reaches 70% capacity.
Installation Complete
That’s it — your SWEVEN IoT device with alarm is fully installed and operational. The system will now continuously monitor the tank, trigger alerts at the right time, and keep everything synced to the SWEVEN platform for remote visibility.
If you run into any issues during installation, reach out to your SWEVEN representative or leave a comment below for assistance.