Once you’ve created a Site, the next step is to assign it to a Service Area to maintain a structured and scalable setup within SWEVEN. This ensures devices installed at each location are properly grouped, and permissions are applied correctly.
You can access the Site detail page in two ways:
- From the Client profile
- From List Manager → Sites
🧩 Option 1: From Client Profile
- Log in to the OWNER platform 👉 https://app.swevenbpm.com
- Go to the “Clients” section Menu → Clients
- Find the Client Use the search bar or scroll through the list.
- Open the Client detail view Click on the client’s name.
- Go to the “Sites” tab Click the Sites tab to see all associated sites.
- Find the Site you want to assign Locate the site in the list.
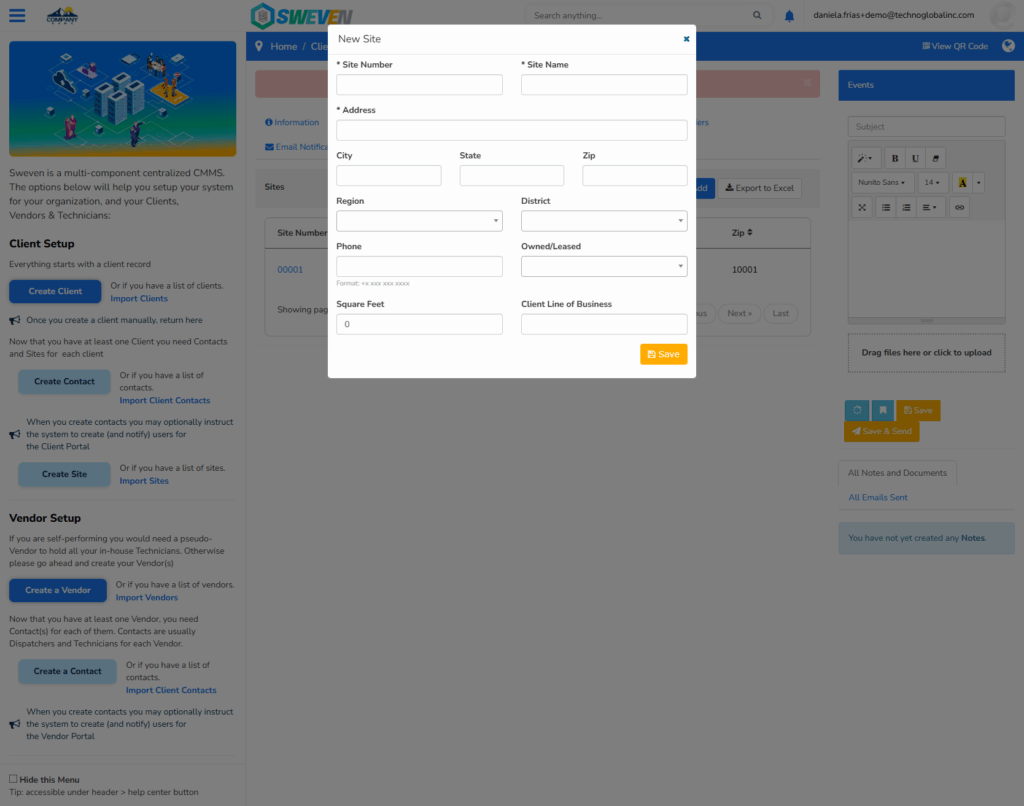
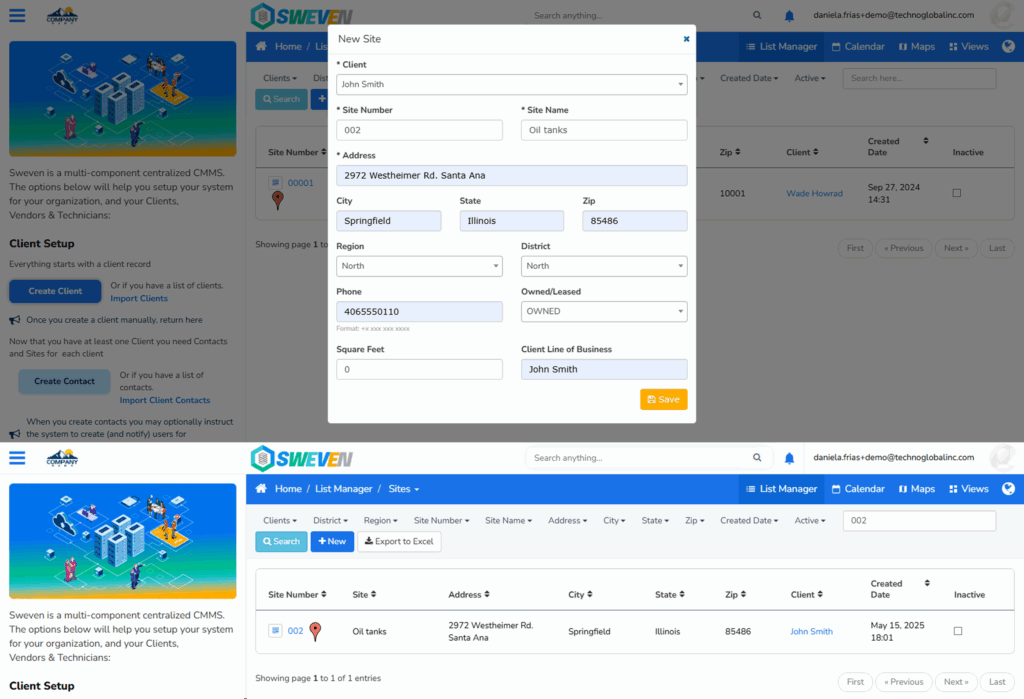
- Open the Site detail view Click on the Site Number to open its configuration.
- Assign the Service Area Use the Service Area dropdown to select the appropriate one.
- Save the changes
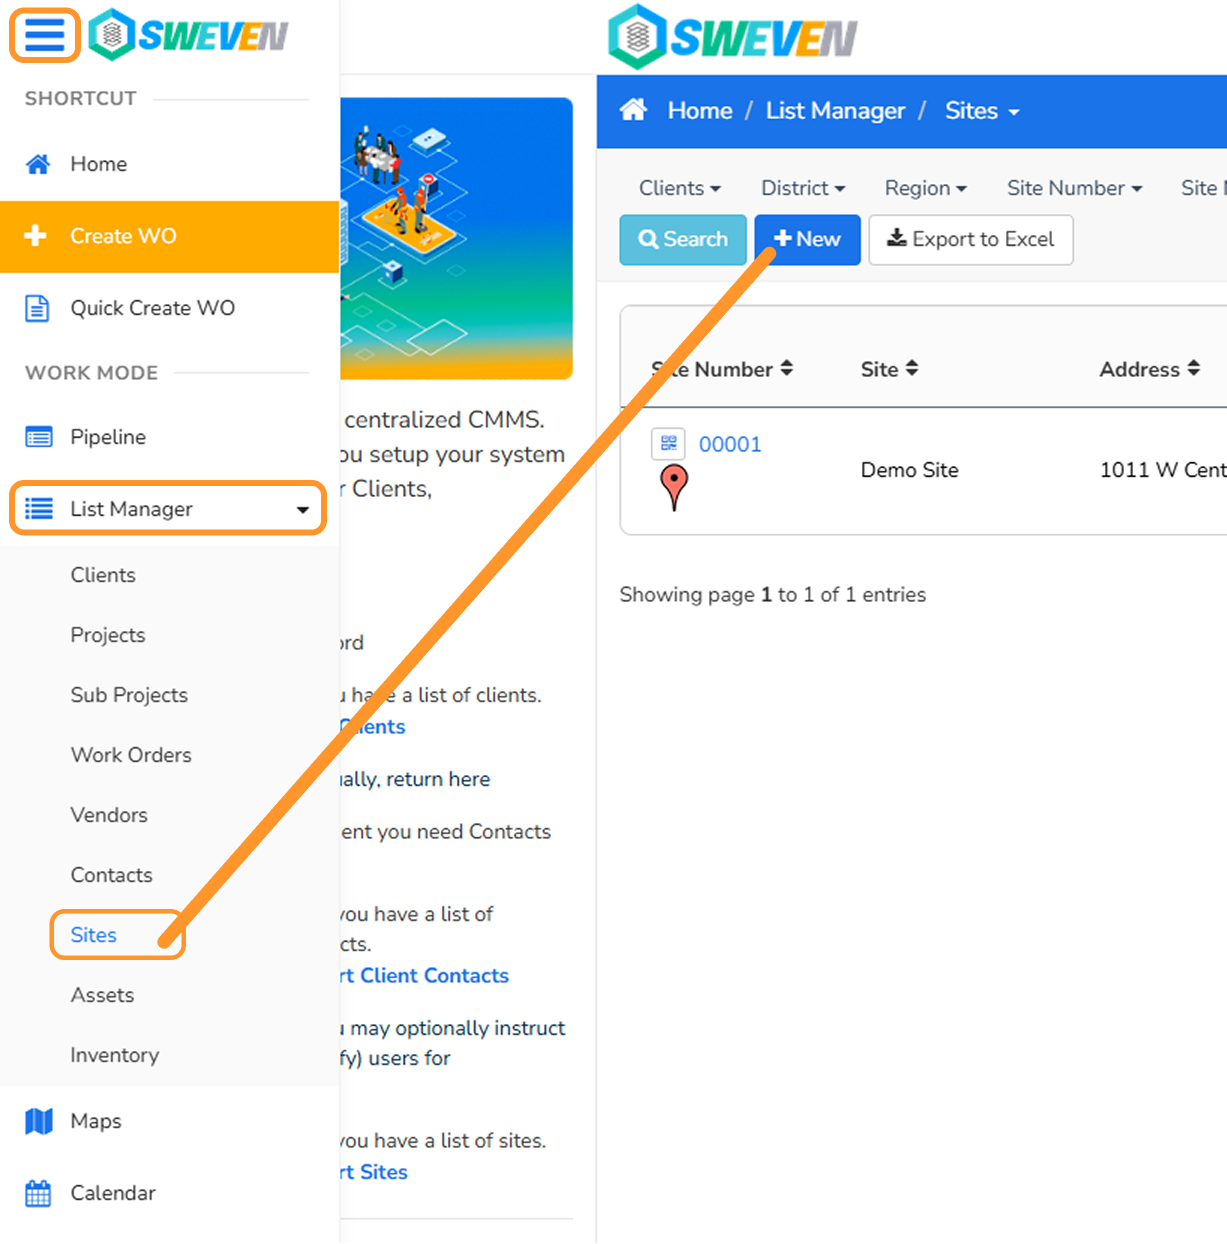
🧩 Option 2: From List Manager → Sites
- Log in to the OWNER platform 👉 https://app.swevenbpm.com
- Go to the “Sites” section Menu → List Manager → Sites
- Find the Site Use the search bar or scroll through the list.
- Open the Site detail view, Click on the Site Number.
- Assign the Service Area Use the Service Area dropdown to select the appropriate one.
- Save the changes

✅ Your Site is now successfully linked to the selected Service Area. Any devices or users assigned to this site will automatically follow the visibility and access rules defined for that service area.
🔄 Why This Matters
Assigning Sites to Service Areas helps you:
- Organize locations logically or geographically
- Control user access (only users assigned to a Service Area can see its Sites and devices)
- Maintain clean, scalable infrastructure across multiple clients and zones
📚 Related Topics
- How to Create a Site
- Creating and Managing Service Areas
- How to Assign Devices to Sites
- User Roles and Permissions