Welcome to SWEVEN! If you’ve just received your IoT device, you’re one step away from smarter, safer, and more efficient tank management.
This quick guide will help you understand what to expect, what you need to do (spoiler: not much!), and where to find key information.
📦 Step 1: My device just arrived. What now?
Great news: SWEVEN takes care of the setup for you.
✅ Your device is already registered in the system The moment SWEVEN ships your device, it is automatically added to your account—no manual configuration or activation needed.
You’ll find it listed in your OWNER platform (if you’re an admin) or visible from the Dashboard Tanks (if you’re an end user) once it’s installed.
📡 Step 2: Understand What Your Device Does
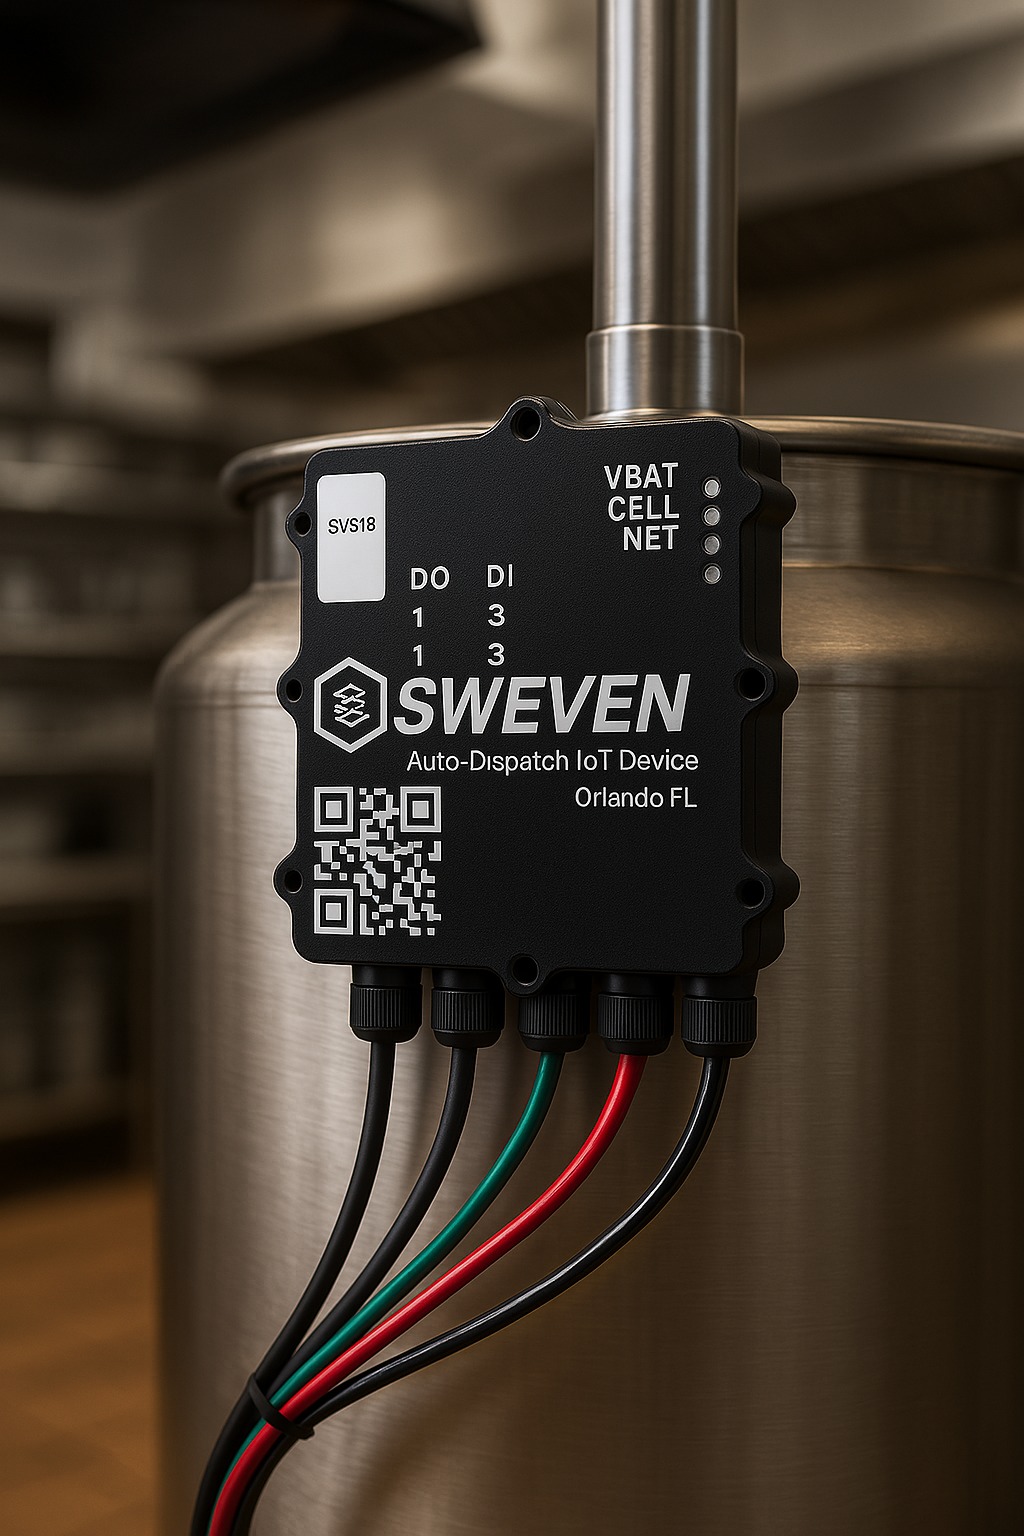
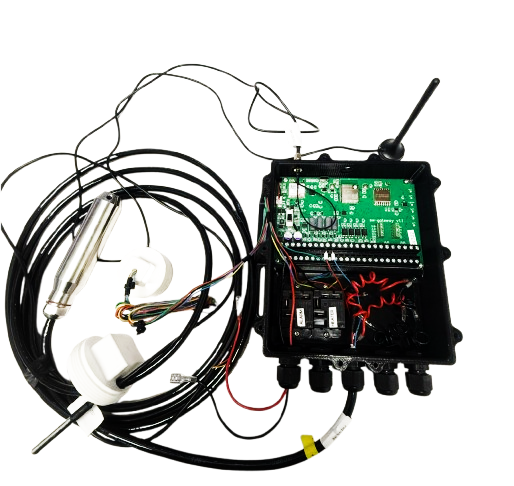
Each SWEVEN IoT Device is equipped with:
- 📏 Level sensor – Measures how full your tank is (%)
- 🌡 Temperature sensor – Monitors internal tank temperature
- 🌡 Line/trace temperature sensor – Tracks pipe or surface temperature
- 🔌 Heater relay – Activates heater in low temperatures
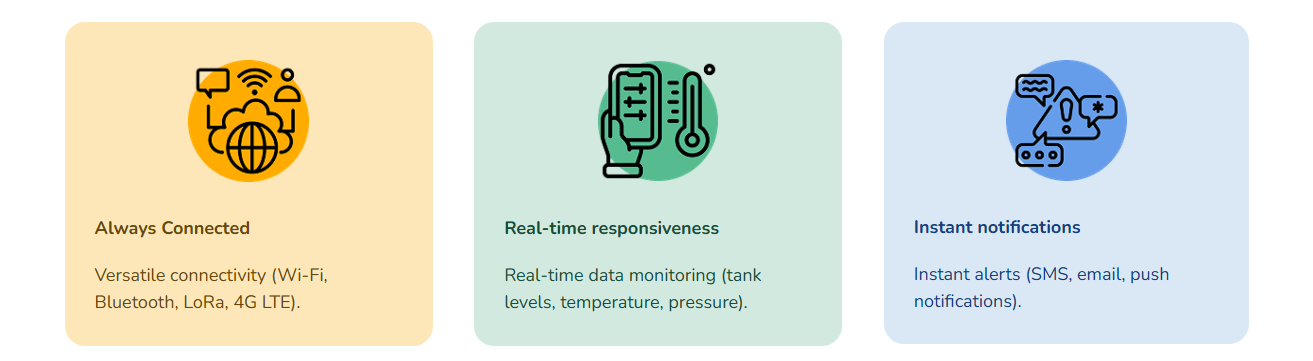
- 📶 SIM-based connectivity – Sends updates every minute
- 📡 RF antenna – Enhances SIM network coverage
- 🚨 Alert output – Can trigger an on-site alarm
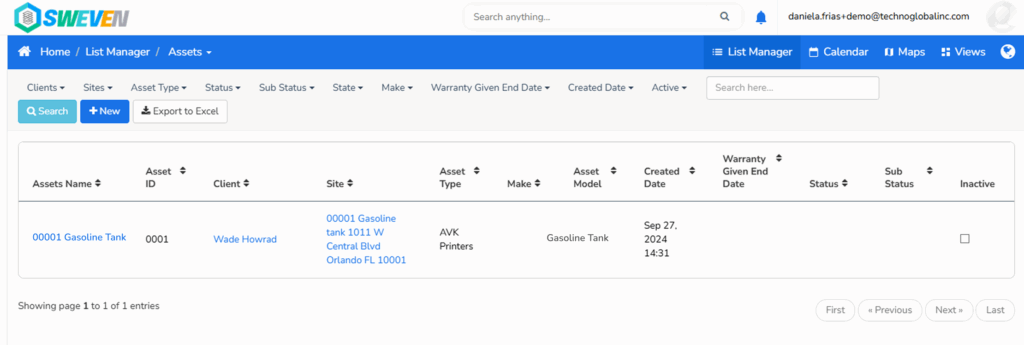
🗺 Step 3: Know the Structure
Your SWEVEN system is organized like this:
Client → Service Area → Site → Device (Asset)
Example:
- Client: Company Acme
- Service Area: EST Area
- Site: Cool Restaurant
- Device: A001
This structure ensures that only the right people see the right data.
🧑💼 Step 4: Who Can See What?
Depending on your role, your access, and permissions will vary:
| Role | Access Level |
|---|---|
| Owner | Full admin access (OWNER platform) |
| Client — SuperAdmin | Full control over areas and users (Dashboard Tanks) |
| Client — Admin | Manages areas and users within assigned scope |
| Client — Operation Manager | View-only access to assigned tanks |
Owners can configure access from the OWNER panel.
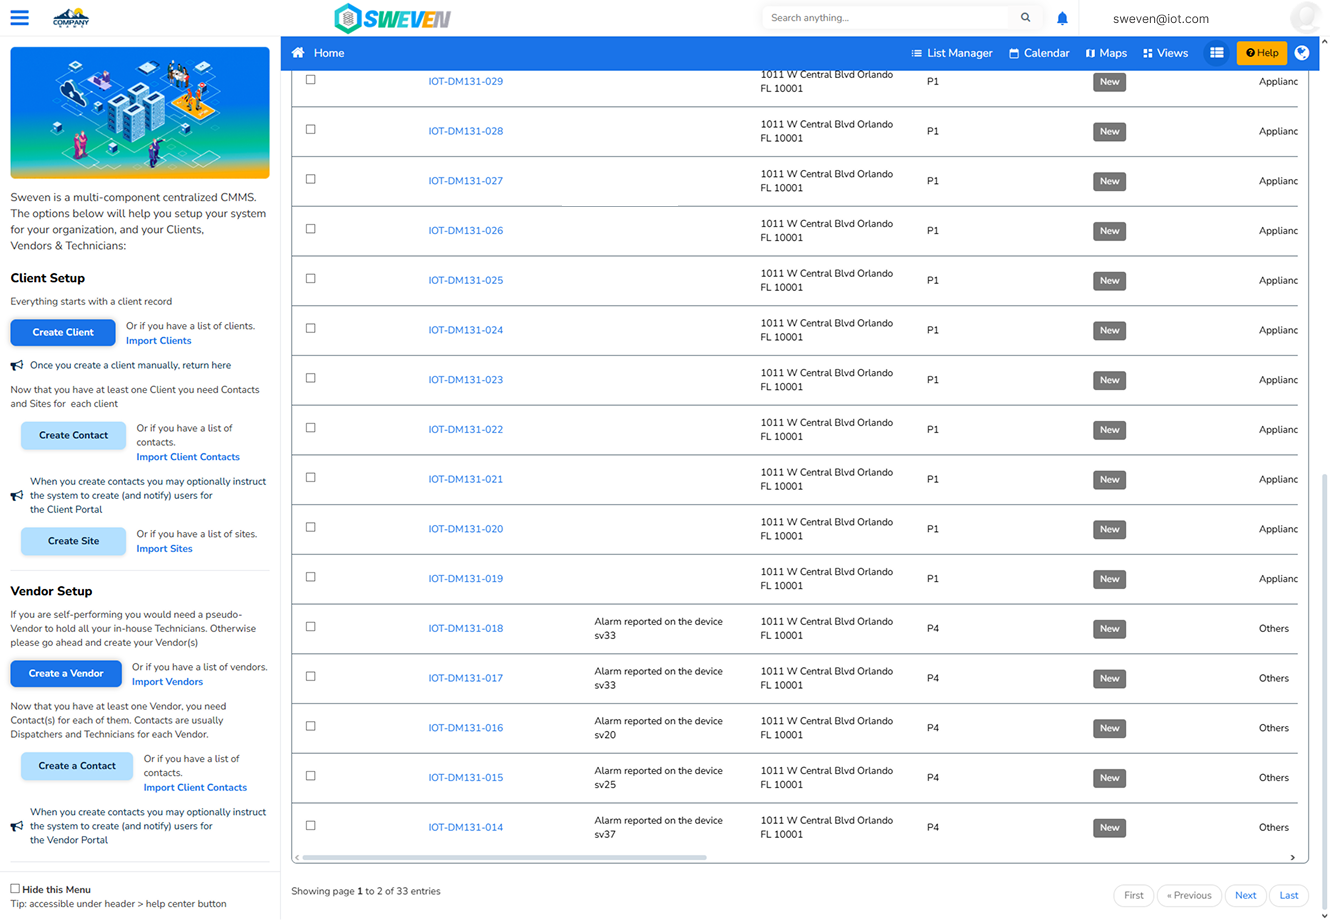
📊 Step 5: Start Monitoring
In Dashboard Tanks, navigate to: IoT Hub → Sensors
Click on a tank to see:
- Fill level (%)
- Capacity in gallons and pounds
- Temperature readings
- Device status (connected/disconnected)
- Active alerts (e.g. low oil, high used oil)
💡 Tip: Red or yellow indicators mean immediate attention is needed.
🔔 Step 6: Alerts That Matter
You will receive notifications when:
- 🛢 Fresh oil is below 20% → reorder soon
- ♻️ Used oil exceeds 70% → schedule collection (alarm may sound)
- ⚠️ Device is disconnected
Alerts are sent through:
- Web interface (Dashboard Tanks)
- Email notifications
- SMS (if enabled)
✅ Summary: No Setup, Just Action
- Your device is pre-registered
- Your dashboards are live
- Alerts keep you informed
- You have full control—by role, zone, and tank
📚 Related Topics
- How to Assign Devices to Sites
- Creating and Managing Service Areas
- Understanding Tank Readings
- Setting Up Alerts and Notifications
- Roles and Permissions Explained